I'm sure you will agree, we all look better wearing a little makeup. Makeup applied properly enhances a person's natural beauty. With wedding and portrait season upon us I thought I would share some practical makeup tips.
Photography Makeup GuideLooking good on camera doesn't require a makeup artist, but professional makeup tips help. Even if you prefer a natural look, the camera tends to exaggerate flaws and create artificial ones. Who needs that? These camera-friendly makeup tips focus on makeup application that enhances rather than detracts from your looks.
Makeup tips for camera include an array of corrective and dramatic effects as well as simply enhancing one's natural appearance. The key is to consider that images are two dimensional, so shadows and highlighted areas may need to be emphasized, de-emphasized or even simulated, for the best overall effect.
1. Skin, The Canvas: Before you apply makeup, start with smooth, toned and moisturized skin. If necessary, give yourself a facial or scrub treatment.Chances are if you don't exfoliate daily or weekly, your skin is covered in dead skin cells that are mucking up the surface of your skin and causing your skin to not only look dull, but older as well. Without proper exfoliation, foundation won't smooth over your skin cleanly and moisturizer won't properly soak in.
Exfoliate with face scrubs, microderm abrasion, chemical peels, beta alpha hydroxy pads or any Vitamin A product like Retin-A.
This minimizes uneven or artificial looking makeup application and promotes a healthy, glowing look.
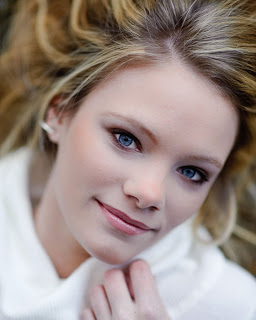
2. Minimize Shadows: As photos are two-dimensional, the camera ages subjects by enhancing dark, fine lines and wrinkles. To compensate, gently apply a lighter shade of concealer makeup to darker areas: around the eyes, crevices and expression lines. Using upward strokes, next apply a light layer of foundation makeup over the face including lips. Blend makeup at the edges. Except for corrective work, use foundation makeup colors closely matching the natural skin color.
3. Bronze or Blush: Various makeup effects can be achieved with blush. Bronzer makeup powder is widely successful and produces a natural or lightly sculpted look, depending on its application.
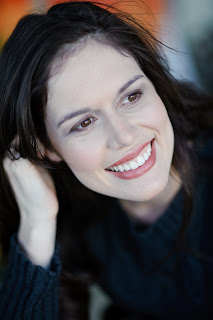
4. To apply powder blush: blow off excess from the brush and apply lightly to cheekbones and above the outer corners of eyes to the temple. For a makeup application guide, make a wide peace sign with a hand. Rotate 90 degrees towards your nose. Palms out, place the point of the "V" at your hairline and align with the corner of your eye and the bottom finger resting on the cheekbone. Focus color at or one finger below this area on the cheek, and at or above this area around the eyes. Apply a second thin layer on checks and blend lightly at edges as needed.
* **Additional makeup tip: Bronzer makeup can also be applied along the sides of the nose to minimize width. And, a darker shade of blush applied under the cheekbones produces more definition.
5. Eyes and Lines: Unless you like the look, or have the eyes for it, avoid harsh lines, or the raccoon look, it makes the eyes look smaller and deeper set. Try a smoky-colored eyeliner pencil, and smudge a bit if necessary. With liquid eyeliner, an option is to dot the eyeliner next to the eyelash base rather than create a solid line. For a different look, limit liquid eyeliner application to the top eyelid and/or the outer corners of the eyes. Smoky eye shadow applied above the eyelids and blended with the outer corners of the eyes also creates a desirable effect; a highlighted brow area enhances this effect.
* **Additional makeup tip: To soften lines, lightly swipe the lid and brow area once or twice with a powder makeup brush dipped in light pink blush.
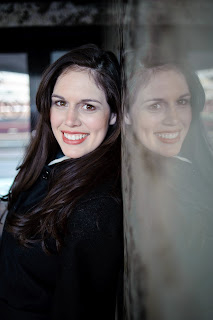
6. Lips: Most lips benefit from definition, even when lipstick is not generally used. For a natural but polished look, try a shade or two darker than your lip color, apply lip pencil, smudge lips a bit and apply a little gloss, or lipstick.
* **Additional makeup tip: Apply a lighter lip color or gloss only to the center of lips to enhance a pouty look.
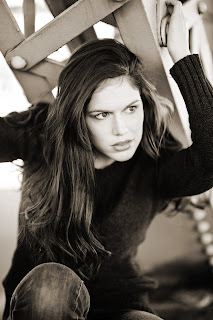
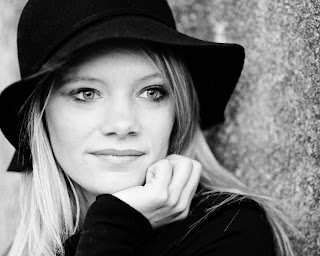
7. Powder: When Not to Shine: Apply a light dusting of translucent powder over your face to avoid shine and set makeup. Concentrate on the T-zone as necessary, and apply sparingly to lined or dry areas.
8. Eyebrows: Before applying makeup make sure that the eyebrows are properly shaped as they affect facial expression. For a guide, align a pencil vertically along the edge of nostril and inner corner of the eye. Do the same for the outer corner of the eye. This makes a good start and endpoint for the eyebrow. If the eyebrow arch needs help, align the pencil with the edge of the nostril and the outer edge of the iris to determine the highest point of the arch. Tweeze stray brows outside these areas and use an eyebrow pencil for even more definition. However, it is best to avoid significant tweezing just prior to applying makeup.
9. Red Eyes: To brighten the whites of the eyes and minimize redness line the inner lower eyelid with a light blue eye pencil.
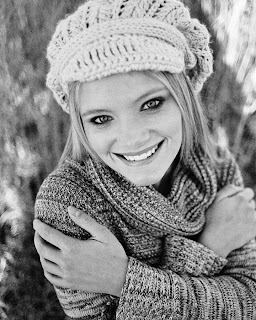
Hope these tips help! Every Saturday during the month of March I will be doing complimentary skin analysis and makeovers. I'm an image consultant with BeautiControl Cosmetics and have been for 15 years. Their skincare products are the best!
To see more of our photography please visit our site at:
www.autumnsongphotography.com
Even "mature" skin can have a youthful glow with proper skin care and makeup.


 To find out more about Deborah and here line of wedding gowns and clothing check out her site at: www.deborahlindquest.com


